The Sunday-night problem every creator knows
It’s Sunday night. You’ve got an idea you’re excited about, half a script in your notes app, and a video that was supposed to go live on Friday. Sound familiar?
That’s the real bottleneck for most YouTubers. It’s rarely the camera. It’s the hours lost between idea and upload – scripting, cutting silences, fixing audio, designing a thumbnail that actually gets clicked, then chopping the whole thing into Shorts. Do that every week and burnout isn’t a possibility, it’s a schedule.
The best AI tools for YouTubers don’t fix that by making videos for you. They take the repetitive middle work off your plate so you can spend your energy on the parts viewers actually care about: your ideas, your stories, your personality.
In a side-by-side comparison, the creators who stick with YouTube longest aren’t the ones with the most tools. They’re the ones with a small, reliable stack they use the same way every week. Here’s the stack we’d recommend in 2026, grouped by job, not by hype.
How we picked these AI tools for YouTubers
Tools that look impressive in a demo but fall apart on a real deadline were left out. Every pick below had to do one of three things well: save at least 30 minutes per video, noticeably improve quality, or help a small channel compete with bigger ones.
You’ll notice a pattern, too. The strongest channels use AI for drafts, cuts and first versions – then a human makes the final call. Keep that rule in mind as you read.
Scripting and ideas: get unstuck faster
1. ChatGPT – for outlines, hooks and titles
Blank page syndrome is brutal. ChatGPT is still the fastest way through it, if you prompt it properly. Don’t ask it to write a video script. Ask it for 10 angles on one idea, then 5 hooks for your favourite angle, then an outline for the winner.
You’ll get usable raw material in minutes. You’ll also get some generic filler – that’s normal. Your job is to pick the sharp bits and rewrite them in your voice. Used that way, it’s a brainstorming partner, not a replacement writer.
2. Claude — for longer, cleaner first drafts
Claude tends to write in a calmer, more natural flow, which suits explainer and storytelling channels. In a side-by-side comparison, it handled longer briefs better – paste in your research notes, your key points and a couple of examples of how you talk, and the draft comes back closer to usable.
A practical tip: feed it one of your old scripts first and say match this tone, but don’t copy the sentences. The difference is night and day compared with a cold prompt.
If scripting is your weakest link, read our full workflow in the companion guide linked at the end of this post. It walks through the whole process step by step.
See our guide: how to write YouTube scripts with AI.
Editing: where most hours disappear
3. Descript — edit video by editing text
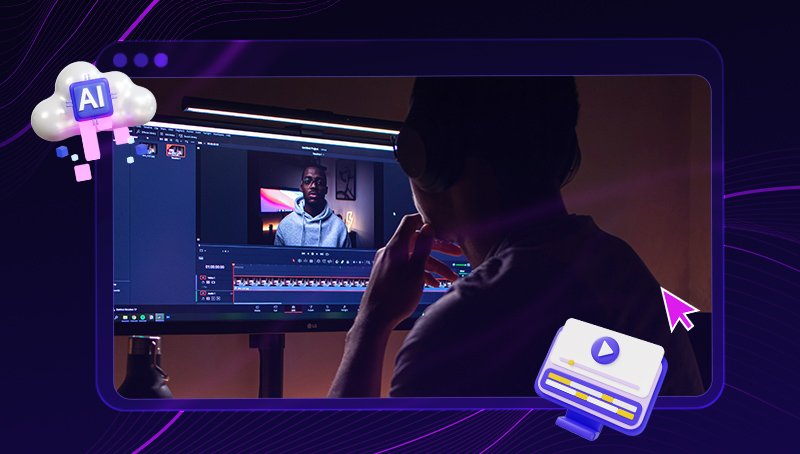
Descript still feels like magic the first time you use it. It transcribes your video, and then you edit by deleting words from the transcript. Cut an um, and it’s gone from the video. Rearrange a sentence, and the clip moves with it.
For talking-head videos, tutorials and podcasts, this alone can cut editing time in half. The filler-word removal and studio sound tools are genuinely useful, not gimmicks – especially if you record in a noisy room.
Read our detailed guide here: Descript guide – edit video and audio by editing text
4. CapCut — fast, punchy edits for Shorts and vlogs
When speed matters more than precision, CapCut wins. Auto-captions, trending-style cuts, beat-synced edits and one-tap clean-up make it ideal for Shorts, TikTok-style clips and fast vlogs.
It’s also where a lot of beginners should start, because the free version covers the basics well. Just be careful with templates: if your video looks exactly like 10,000 other videos, viewers scroll past. Use the template as a starting point, then change the pacing, captions and first three seconds.
Here’s our step-by-step CapCut guide: CapCut AI guide — edit videos faster
You can also check CapCut’s official site for current features and pricing: CapCut
Thumbnails: the click starts here
5. Canva Magic Studio — thumbnails without a designer
You could have the best video on YouTube. If the thumbnail is muddy, nobody will know.
Canva Magic Studio lets you build bold, readable thumbnails in minutes: background removal, text effects, brand colours saved once and reused, and Magic Resize when you need the same design for a community post or Short. In a side-by-side comparison, the thumbnails that performed best shared three things – one clear face or object, no more than four words, and contrast you can read on a phone screen at arm’s length.
Make three versions for every important video. Pick the one you’d click, not the one you spent longest on.
Full guide here: Canva Magic Studio guide
Voice: sound professional without a studio
6. ElevenLabs — realistic voiceovers and clean narration
ElevenLabs is the tool to reach for when your own recording isn’t usable – bad mic day, noisy flat, or a faceless channel where you need consistent narration. The voices are strikingly natural now, with pauses and emphasis that don’t sound flat if you write the script conversationally.
Two honest warnings to keep in mind. First, always listen to the full voiceover before you publish; AI voices still mispronounce names and numbers. Second, don’t clone your own voice and then stop recording altogether. Viewers connect with real delivery, quirks included.
Guide here: ElevenLabs guide — realistic AI voices
Music: stop getting copyright strikes
7. Suno — original background music and songs
Music licensing trips up more new YouTubers than almost anything else. Suno lets you generate original tracks matched to mood and length – calm background for a tutorial, upbeat for a vlog intro, tense for a story beat.
It’s not a replacement for a great licensed library if you need a specific commercial sound, but for everyday background music it’s fast, cheap and safe. Keep a small folder of your favourite generated tracks so your channel starts to sound recognisable, video after video.
Repurposing and faceless videos: one video, five pieces of content
This is where small channels quietly out-publish bigger ones. One long video should give you Shorts, a blog version, social clips and sometimes a second video entirely.

8. Pictory — turn long videos and blog posts into Shorts
Pictory is brilliant for repurposing. Feed it a long video or a blog post and it pulls out highlight clips with captions, ready for Shorts. It’s also a solid starting point if you want to turn written content into video without filming everything from scratch.
Guide here: Pictory guide — turn blog posts into videos
9. Synthesia — faceless videos with AI avatars
If you don’t want to be on camera, Synthesia lets you create presenter-led videos with an AI avatar reading your script. It works well for explainers, training-style content and news updates. Just keep scripts tight and visuals moving – a static avatar talking for 10 minutes will lose viewers, no matter how good the voice is.
10. HeyGen — talking avatar videos for business and explainers
HeyGen is similar, but stronger for business-style explainers, product walkthroughs and multilingual versions. You can create the same video in another language without re-recording, which is a genuine growth lever if your audience is international.
Keep avatars for the right format, though. Personal vlogs and opinion videos still need a real person. Viewers can tell, and they trust a face more than a perfect avatar.
For YouTube’s own rules on AI content and disclosure, check: YouTube Help
Starter stack if you’re on zero budget
Don’t buy all ten tools on day one. Seriously – you’ll spend more time learning software than making videos.
Start with this free stack instead: ChatGPT (free tier) for ideas and outlines; CapCut (free) for editing and captions; Canva (free) for thumbnails; YouTube Studio for analytics and basic trimming.
Publish five videos with just those. Once you know which step eats your time – scripting, editing, thumbnails – spend money on that one bottleneck first. One paid tool that saves you three hours a week beats five subscriptions you barely open.
Mistakes to avoid with AI tools
First, don’t let AI flatten your style. If every hook sounds like Are you tired of…? and every video ends the same way, viewers stop feeling like they’re watching you.
Second, don’t publish an AI first draft. Read it aloud. If you’d never say a sentence out loud, cut it.
Third, don’t chase every new tool. YouTube rewards consistency and watch time, not your app folder. Pick your stack, learn it properly, and only swap a tool when it’s clearly slowing you down.
And please – check facts. AI tools confidently invent statistics, quotes and studies. If a claim matters to your video, verify it from a primary source before you record.
FAQ
Do I need paid AI tools to grow on YouTube?
No. The free tiers of ChatGPT, CapCut and Canva are enough to publish consistently, which matters more than fancy features. Pay only when a specific step is costing you hours every week.
Will YouTube penalise videos made with AI?
YouTube doesn’t ban AI-assisted videos, but it does require disclosure for realistic altered or synthetic content in some cases, and it still judges videos on quality, originality and viewer satisfaction. AI help with scripting and editing is fine. Low-effort, mass-produced AI videos with no added value are not.
How many AI tools should I use for one video?
For most creators, three to four is the sweet spot: one for scripting, one for editing, one for thumbnails, and one for repurposing if you post Shorts. More than that and you’re managing tools instead of making videos.
Want the scripting side in full detail? Read next: How to Write YouTube Scripts With AI: Full Workflow